In a world where sugary snacks lurk around every corner,finding a truly wholesome treat can feel like a quest for gold. Enter homemade granola bars-a delicious fusion of nature’s finest ingredients, carefully crafted to fuel your day with health and heartiness. These bars are more than just a snack; they’re a testament to the magic that happens when simple oats, nuts, and a touch of natural sweetness come together to create a portable power boost. Whether you’re rushing between meetings, chasing after little ones, or just craving a guilt-free nibble, wholesome homemade granola bars offer a vibrant choice that nourishes both body and soul. Ready to discover your new favorite healthy snack fix? Let’s dive in.
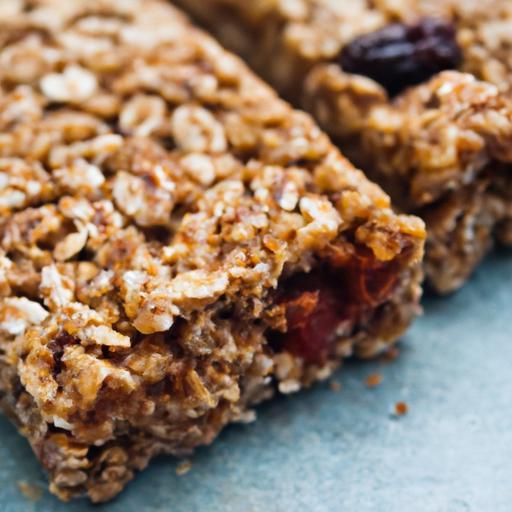
Wholesome homemade granola bars are the ultimate answer to your craving for a tasty, nutrient-dense snack that fuels your day with sustained energy and delightful textures. Crafted from a thoughtful balance of wholesome ingredients, these bars combine the hearty crunch of toasted oats with the natural sweetness of dried fruits and the rich creaminess of nuts, creating an irresistible bite that satisfies both your taste buds and nutritional needs.
Prep and Cook Time
Readiness: 15 minutes | Cooking: 25 minutes | Cooling Time: 30 minutes
Yield
Makes 12 bars, perfect for on-the-go snacking.
Difficulty Level
Easy – ideal for home bakers and snack lovers of all skill levels.
Ingredients
- 2 ½ cups old-fashioned rolled oats, toasted
- ½ cup raw almonds, roughly chopped
- ½ cup unsweetened shredded coconut
- ¼ cup chia seeds
- ½ cup dried cranberries, chopped
- ½ cup natural creamy almond butter
- ⅓ cup raw honey or pure maple syrup for vegan option
- 1 teaspoon pure vanilla extract
- ½ teaspoon ground cinnamon
- Pinch of fine sea salt
Instructions
- Toast the oats and almonds: Preheat your oven to 350°F (175°C). Spread the oats and chopped almonds evenly on a baking sheet lined with parchment paper. Toast for 10-12 minutes, stirring once halfway through, until golden and aromatic. This step deepens their flavour and adds crunch.
- Mix the wet ingredients: In a small saucepan over low heat, gently warm the almond butter and honey (or maple syrup) just until they combine smoothly, about 2-3 minutes. Remove from heat and stir in the vanilla extract and cinnamon for warm, fragrant notes.
- Combine dry ingredients: In a large mixing bowl, whisk together the toasted oats and almonds, shredded coconut, chia seeds, dried cranberries, and sea salt.
- Bind the mixture: Pour the warm almond butter and honey mixture over the dry ingredients. Use a wooden spoon or spatula to mix thoroughly, ensuring every dry piece is coated and sticky. This helps the bars hold their shape perfectly.
- Press into the pan: Line an 8×8-inch square baking pan with parchment paper, leaving some overhang for easy removal. Transfer the granola mixture into the pan and press firmly with clean hands or a spatula to create an even layer.
- Bake until set: Bake in the 350°F (175°C) oven for 12-15 minutes. Bars should be golden around the edges but still slightly soft in the center. Avoid overbaking, which can make them brittle.
- Cool entirely: Remove from the oven and allow to cool in the pan on a wire rack for at least 30 minutes.Once cooled, use the parchment overhang to lift the slab out and slice into 12 bars with a sharp knife.
Tips for Success
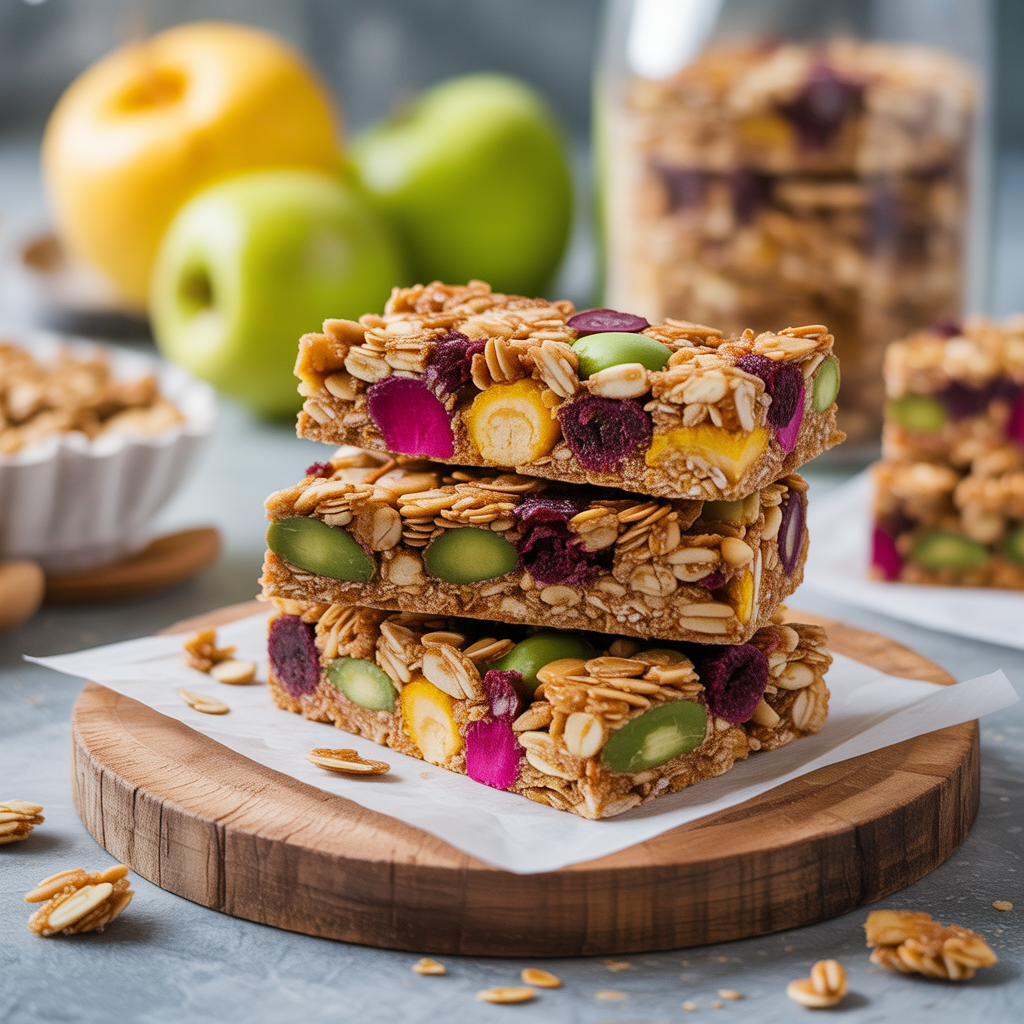
- Customize your mix-ins: Swap almonds for walnuts or pecans, add dark chocolate chips, or include seeds like pumpkin or sunflower for variety.
- Make it vegan: Use maple syrup or agave instead of honey and nut butters without added honey.
- Press firmly: Applying firm pressure when packing the mixture into the pan ensures bars hold together and don’t crumble.
- Storage: Keep bars in an airtight container at room temperature for up to 5 days, or refrigerate up to 2 weeks for freshness.
- Make-ahead tip: These bars freeze beautifully. Wrap individually and store in a zip-top bag for up to 3 months.
Serving Suggestions
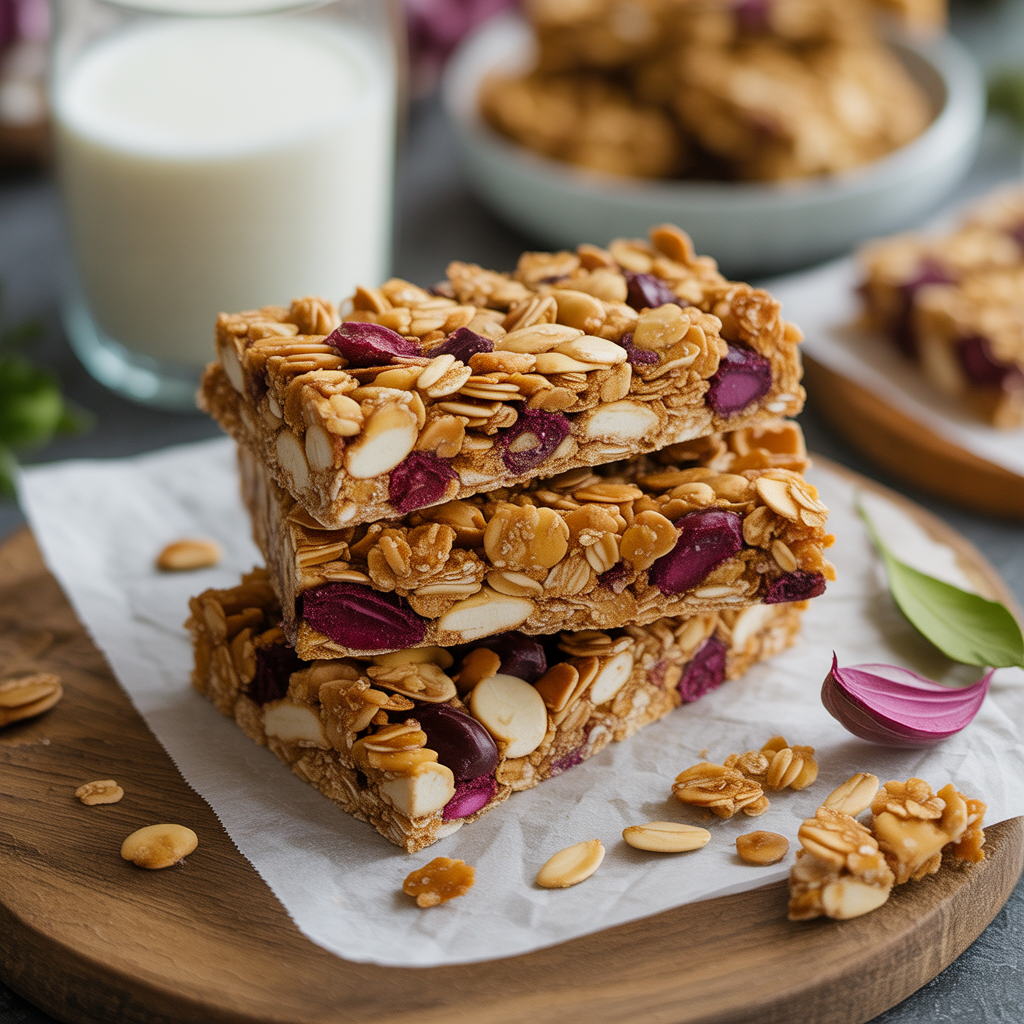
For a visually inviting snack, serve your wholesome homemade granola bars on a rustic wooden board, garnished with fresh berries and a drizzle of almond butter. Pair with a glass of homemade iced matcha or freshly brewed herbal tea to complement the bars’ natural nutty sweetness. Wrap bars in parchment for an easy grab-and-go treat during busy mornings or afternoon hikes.
| Nutrient | Per Bar |
|---|---|
| Calories | 210 |
| Protein | 5g |
| Carbohydrates | 27g |
| Fat | 9g |

Looking for more wholesome snack inspiration? Check out our Healthy Energy Balls Recipe for an equally delicious alternative. For detailed nutritional facts and ingredient benefits, visit eatright.org.
Q&A
Q&A: Wholesome Homemade Granola Bars – Your Healthy Snack Fix
Q1: Why choose homemade granola bars over store-bought ones?
A1: Homemade granola bars put you in control of every ingredient,letting you skip the artificial preservatives,excessive sugars,and hidden chemicals often lurking in store-bought snacks. Plus, crafting your own bars means you can tailor flavors and textures to your cravings-think crunchy nuts, chewy dried fruits, or a drizzle of dark chocolate. Its wholesome snacking made personal and pure!
Q2: What are the key ingredients for making a truly wholesome granola bar?
A2: A stellar homemade granola bar usually starts with whole rolled oats for that hearty base. Add in nutrient-packed nuts and seeds like almonds, chia, or pumpkin seeds for crunch and vitality. Sweeten naturally with honey, maple syrup, or mashed banana, and bind it all together with nut butter or a splash of coconut oil. Don’t forget a dash of cinnamon or vanilla extract to elevate those cozy flavors!
Q3: How can I make my granola bars gluten-free or vegan?
A3: It’s easy to cater to dietary needs! For gluten-free bars, choose certified gluten-free oats and confirm all add-ins are safe. Vegan bars just skip honey-swap it with maple syrup or agave nectar-and ensure any chocolate is dairy-free. These swaps keep your bars inclusive without sacrificing taste or texture.
Q4: How long do homemade granola bars last, and what’s the best way to store them?
A4: Freshly baked granola bars typically stay delicious for up to a week when stored in an airtight container at room temperature. for longer shelf life-say, up to a month-stash them in the fridge. Wrapping individual bars in parchment paper also helps preserve their crunch and makes them grab-and-go ready.
Q5: Can I customize granola bars to boost energy for workouts or recovery?
A5: Absolutely! For pre-workout fuel, pack bars with complex carbs like oats and dried fruit, plus easily digestible protein from nuts or protein powder. Post-workout, bump up the protein by adding Greek yogurt powder or hemp seeds to aid muscle recovery. Salted nuts and a hint of sea salt can replenish electrolytes, turning your bar into a mini power station.
Q6: Any creative twists to make my granola bars extra exciting?
A6: The flavor playground is wide open! Stir in cocoa nibs or a swirl of almond butter for richness.Swap regular nuts with toasted coconut flakes or candied ginger for zing. Seasonal spices-pumpkin pie spice in fall or cardamom in winter-bring festive flair. The best part? Each batch can be a new adventure for your taste buds!
snack smart and savor the goodness every bite of your homemade granola bars brings-your healthy snack fix, crafted just the way you like it!
To Conclude
wholesome homemade granola bars aren’t just a snack-they’re a nourishing embrace in every bite. By crafting your own, you control the ingredients, tailoring each bar to suit your unique cravings and nutritional needs. Whether you’re fueling an early morning hike, powering through a busy workday, or sharing a thoughtful treat with loved ones, these bars offer a satisfying blend of flavor, texture, and wholesome goodness. So next time hunger strikes, skip the processed options and reach for a batch of homemade granola bars-your body and taste buds will thank you. Hear’s to snacking smarter, tastier, and healthier, one bar at a time!