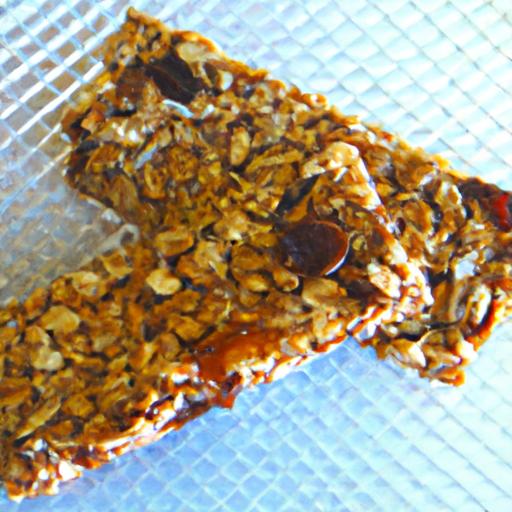
In a world buzzing with busy schedules and rapid snack fixes, finding a treat that’s both nourishing and delightful can feel like a treasure hunt. Enter the wholesome homemade granola bar-a perfect blend of crunchy oats, sweet natural flavors, and wholesome ingredients that fuel your body and satisfy your taste buds. whether you’re fueling an adventurous hike, packing a kid-amiable lunch, or simply craving a guilt-free snack, these homemade gems offer a customizable, nutrient-packed alternative to store-bought options laden with preservatives. Let’s dive into the art and science of crafting granola bars that are as nutritious as they are tasty, turning simple pantry staples into your new favorite snack sensation.
Wholesome homemade granola bars offer the perfect harmony of nutrition,flavor,and texture,transforming a simple snack into a satisfying experience. Rooted in traditional trail mix inspirations, these bars combine crunchy nuts, chewy dried fruits, and wholesome grains for a delightful bite anytime you crave energy and taste. Whether you’re fueling a morning hike or need a midday pick-me-up, mastering the art of balancing flavors and textures ensures each bar is irresistibly delicious and nutritionally dense.
Prep and Cook Time
- Preparation: 15 minutes
- Cooking/Baking: 20 minutes
- Cooling: 30 minutes
- Total Time: 1 hour 5 minutes
Yield
12 bars (approximately 2 inches by 3 inches each)
Difficulty Level
Easy
Choosing the best Natural Ingredients for Maximum Nutrition
Choosing fresh, natural ingredients is the cornerstone of creating wholesome homemade granola bars that deliver maximum nutrition without compromising on flavor. Opt for old-fashioned rolled oats for a hearty base full of fiber and complex carbs. Raw nuts like almonds, walnuts, or pecans add essential proteins and healthy fats while providing satisfying crunchiness. Incorporate dried fruits such as cranberries, cherries, or apricots for subtle sweetness and antioxidants – but select unsweetened varieties to avoid added sugars. Binding the mixture with natural sweeteners like local honey or pure maple syrup ensures a gentle sweetness that’s both tasty and wholesome. Don’t forget a pinch of sea salt and warming spices like cinnamon to enhance the overall flavor profile,creating complexity in every bite.
Creative Add-Ins to Elevate Your homemade Granola Bars
Customizing your bars with creative mix-ins invites fun and originality! Think beyond the basics with crunchy pumpkin or chia seeds, or swirl in dollops of creamy natural almond butter for a luscious texture contrast. For a touch of indulgence, add a handful of dark chocolate chips or cacao nibs – these antioxidant-rich gems complement the nutty and sweet elements perfectly. If you’re after a boost of superfood power, toss in some shredded coconut, flaxseeds, or even freeze-dried raspberries. Each add-in introduces unique textures and flavors, transforming every homemade batch into a personalized masterpiece.
Step by Step Guide to Baking Perfectly Chewy Granola Bars
- Preheat your oven to 350°F (175°C). Line an 8×8-inch baking pan with parchment paper, allowing some overhang for easy removal.
- In a large bowl, combine 2 cups of rolled oats, 1 cup mixed raw nuts (chopped almonds, pecans, walnuts), ½ cup pumpkin seeds, and ½ cup unsweetened shredded coconut. Stir to blend dry ingredients evenly.
- In a small saucepan over low heat, gently warm ⅓ cup honey and ¼ cup natural almond butter until smooth and well combined, about 3-4 minutes. Remove from heat and stir in 1 teaspoon vanilla extract and ½ teaspoon ground cinnamon.
- pour the warm almond butter mixture over the oat mixture. Stir thoroughly to coat every piece, ensuring uniform binding. Add ½ cup dried cranberries or cherries at this stage, folding them in gently to prevent sticking together.
- Transfer the mixture into your prepared baking pan. Press firmly and evenly with a spatula or the back of a spoon – this compression is key for chewy, compact bars.
- Bake for 18-20 minutes or until the edges turn a light golden brown. Keep an eye on them to avoid over-baking, which can lead to dry bars.
- Remove from oven and allow to cool completely (at least 30 minutes) before lifting the slab out using parchment overhang. Cut into 12 equal bars with a sharp knife.
- Store bars in an airtight container at room temperature for up to a week or refrigerate for longer freshness.
Chef’s Notes & Tips for Success
- Mix-ins make the difference: Feel free to substitute nuts and seeds with your favorites or seasonal picks to keep your bars exciting week after week.
- Binding alternatives: If almond butter isn’t accessible,creamy peanut butter or sunflower seed butter works beautifully.
- Sweetener swaps: Maple syrup can replace honey for a vegan option. Adjust the wet ingredients slightly if the mixture feels too dry or too sticky.
- Press firmly: Compacting the mixture well before baking ensures the bars hold shape and remain chewy instead of crumbly.
- Storage: Wrap individual bars tightly for on-the-go snacking and to preserve chewiness.
- Make ahead: These bars freeze wonderfully – separate with parchment paper and freeze in a ziplock bag for up to 3 months.
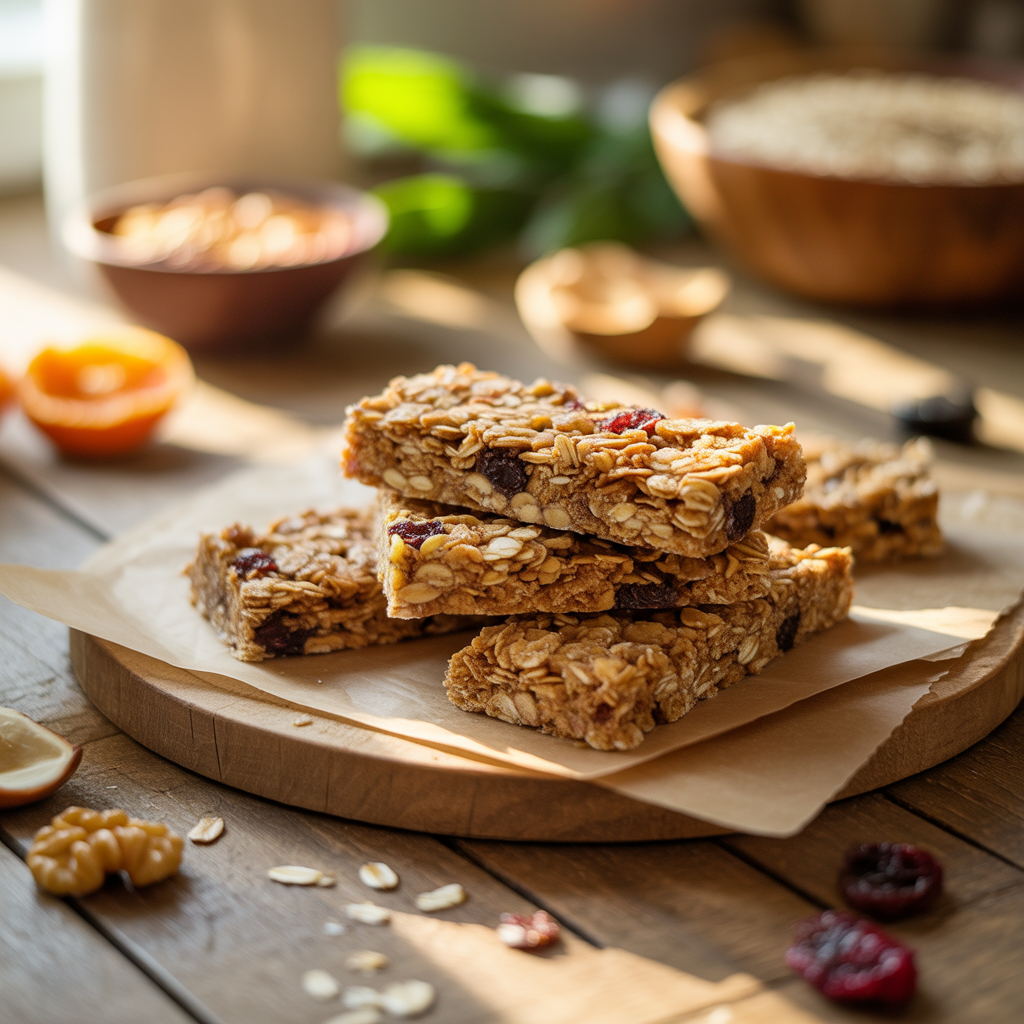
Serving Suggestions
Elevate your homemade granola bars by serving them alongside a fresh fruit salad or dollops of greek yogurt for a balanced snack or light breakfast. Garnish with a sprinkle of chia seeds or a drizzle of melted dark chocolate for extra visual appeal and flavor punch. Pairing with a warm cup of herbal tea or chilled almond milk complements the wholesome sweetness perfectly, making every bite a little moment of indulgence.

| Nutrient | Per Bar (1/12th) |
|---|---|
| Calories | 180 |
| Protein | 5 g |
| Carbs | 22 g |
| Fat | 8 g |
Discover more wholesome recipes and snack ideas in our Healthy Snack Ideas collection, perfect for keeping your energy sustained throughout busy days. For authoritative nutritional data on natural sweeteners and nuts, check out this Healthline Nuts Nutrition Guide.
Q&A
Q&A: Wholesome Homemade Granola Bars: Nutritious & Delicious!
Q1: Why should I make granola bars at home instead of buying them?
A: Homemade granola bars put the power of nutrition and flavor in your hands! When you make them yourself,you control every ingredient-no hidden sugars,preservatives,or questionable additives. Plus, you can customize them to suit your taste buds and dietary needs, whether that’s extra nuts, dried fruits, or your secret superfood touch.
Q2: What are the essential ingredients for a basic wholesome granola bar?
A: Start with a hearty base of rolled oats for fiber and slow-release energy. Add natural sweeteners like honey or maple syrup to bind and sweeten gently. Don’t forget the nut butter-it’s the glue that holds everything together, plus it adds healthy fats and protein. Then toss in your favorite nuts, seeds, and dried fruits for texture, flavor, and a nutrient boost.
Q3: Can I make these granola bars vegan or gluten-free?
A: Absolutely! Just swap honey for maple syrup or agave nectar to keep it vegan-friendly. For gluten-free bars, simply choose certified gluten-free oats and double-check that any add-ins like chocolate chips or dried fruits are free from gluten contamination.
Q4: How do I keep homemade granola bars fresh longer?
A: Store them in an airtight container at room temperature for up to a week. For longer freshness, refrigerate your bars-they’ll last a couple of weeks in the fridge and even up to a month in the freezer.Just thaw them before enjoying for that perfect chewy texture.
Q5: What’s a creative add-in that will make my granola bars stand out?
A: Try tossing in a handful of dark chocolate chunks and a sprinkle of sea salt for a sweet-and-savory twist. Or mix in some superfoods like chia seeds, flaxseeds, or even a dash of matcha powder for an antioxidant punch that keeps your energy buzzing.
Q6: Are homemade granola bars really healthier than store-bought?
A: In most cases, yes! Store-bought bars often hide excess sugars, artificial flavors, and unhealthy oils. Homemade bars can be tailored to be nutrient-dense, with wholesome fats, fibers, and proteins to fuel your day. Plus, they taste fresher and better!
Q7: Can kids help make these granola bars?
A: Definitely! Granola bar recipes are wonderfully simple and kid-friendly. Little hands can scoop, mix, and press the bars into the pan-making snack time a fun family project and teaching kids about healthy eating in the process.
Q8: What’s the best way to cut granola bars without crumbling them apart?
A: After baking or chilling, let your bars cool completely for firm slicing. Use a sharp, slightly warm knife-run the blade under hot water and dry it before cutting-to slice cleanly through without crumbling. Press gently and take your time for perfect squares or rectangles.
Q9: Can granola bars replace a meal?
A: While granola bars make a great on-the-go energy boost, they shouldn’t replace a balanced meal. They’re perfect as a nutritious snack or part of breakfast but aim to pair them with fruits, yogurt, or a protein source to keep your energy steady throughout the day.
Q10: Any tips for experimenting with flavors?
A: Be bold and adventurous! Swap cinnamon for pumpkin spice in autumn, or add citrus zest and seeds for a zesty spring vibe. Adjust nuts-from almonds to walnuts, or try coconut flakes for tropical flair. The possibilities are endless-your kitchen is your granola playground!
Closing Remarks
In the quest for snacks that nourish both body and soul, wholesome homemade granola bars stand out as a shining beacon of health and happiness. By blending simple, natural ingredients with your personal touch, you create more than just a snack-you craft a delicious experience that fuels your day and delights your palate. Whether you seek a quick breakfast, an energizing afternoon pick-me-up, or a heartfelt gift for loved ones, these granola bars deliver nutrition and flavor in every bite. So, roll up your sleeves, gather your favorite nuts, seeds, and fruits, and embrace the joy of homemade goodness that’s as wholesome as it is indeed delicious. Your taste buds-and your body-will thank you.