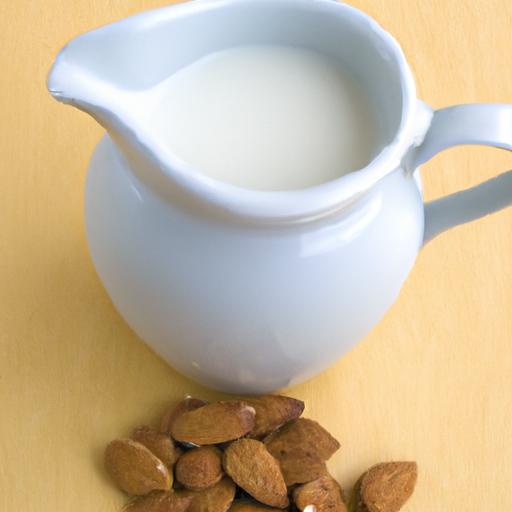
There’s something uniquely satisfying about making your own almond milk-fresh, creamy, and free from the additives found in many store-bought options. Whether you’re seeking a dairy-free option, a nutrient-packed boost, or simply a deliciously smooth beverage, crafting almond milk at home offers both control and creativity. In this guide, we’ll take you through each step of the process, unlocking the secrets to achieving that perfect velvety texture and subtly nutty flavor. Get ready to transform humble almonds into a luscious homemade milk that elevates your morning coffee,smoothies,and recipes alike.
Crafting creamy almond milk begins with understanding the small details that elevate this beloved plant-based beverage. From selecting premium raw almonds bursting with natural richness to unlocking a luxuriously smooth texture through proper soaking and blending, this guide will transform your homemade almond milk into a velvety delight worth savoring.
Prep and Cook Time
- Prep Time: 8 hours (for soaking)
- Active Time: 15 minutes
- Total Time: 8 hours 15 minutes
Yield
Approximately 4 cups (1 liter) of fresh almond milk
Difficulty Level
Easy – Perfect for beginners and experienced home cooks alike
Ingredients
- 1 cup raw organic almonds, preferably skin-on for extra nutrients
- 4 cups filtered water (plus more for soaking)
- 1-2 tablespoons natural sweetener (maple syrup, agave nectar, or honey, optional)
- ½ teaspoon pure vanilla extract (optional, for enhanced flavor)
- Pinch of sea salt (to balance sweetness and deepen flavor)
Instructions
- Selecting the perfect Almonds: Start with whole raw almonds that are plump and fresh. Look for certified organic almonds that retain their natural oils and sweetness-these are the key to achieving that rich, nutty flavor in your almond milk.
- Soaking for Creaminess: Place the almonds in a large bowl and cover with at least 2 inches of filtered water. Soak them overnight or for 8-12 hours. This soaking process awakens the almonds, softening their texture, making them easier to blend, and unlocking a naturally creamy consistency.
- Drain and Rinse: After soaking, drain the almonds and rinse thoroughly under cool running water. This removes enzyme inhibitors and any residual bitterness from the skins.
- Blending Techniques: Transfer the soaked almonds to a high-speed blender. Add 4 cups of fresh filtered water. Blend on high for 1-2 minutes until the mixture is smooth and frothy. For maximum creaminess, blend in short bursts and scrape down the sides between blends to ensure even texture.
- Strain the Almond Milk: Pour the blended mixture through a nut milk bag or a fine-mesh sieve lined with cheesecloth into a large bowl. Gently squeeze or press to extract all that creamy almond liquid, leaving behind the pulp. For ultra-smooth milk, strain twice if desired.
- Customize Your Milk: Return the milk to the blender and combine with your choice of natural sweeteners like maple syrup, 1-2 tablespoons, a pinch of sea salt, and vanilla extract. Blend again for 10 seconds to evenly incorporate these flavors, wich elevate the almond milk into a delightful treat.
- Store and Enjoy: Pour into a clean jar or bottle and chill in the refrigerator for up to 4 days. Shake well before each use as natural separation will occur.
Tips for Success
- Almond Quality Matters: Freshness is key. stale or old almonds yield bitter and flat-tasting milk.
- Customize Sweetness: Adjust natural sweeteners or skip them entirely for a pure, nut-forward taste.
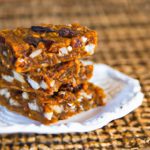
- Reuse Pulp: Don’t toss your almond pulp! It’s perfect for adding fiber and flavor to smoothies,baking,or homemade granola.
- Balloon Blender Tips: Blend in pulses if your blender overheats or struggles with dense mixtures.
- Make Ahead: Soak almonds in advance and refrigerate them up to 2 days to speed up your morning almond milk routine.
Serving Suggestions
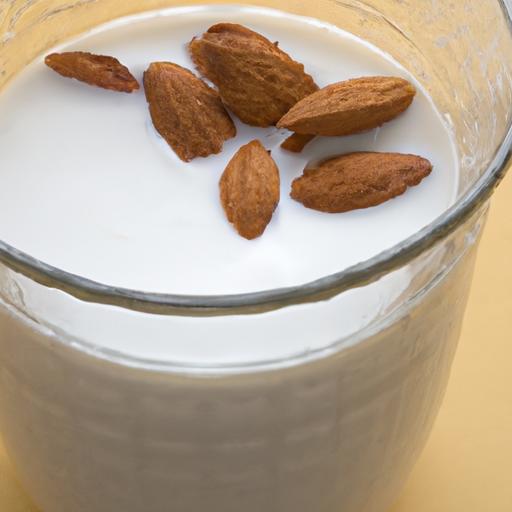
Pour your freshly crafted almond milk over iced coffee for a creamy boost, blend it into smoothies for natural richness, or enjoy it simply chilled with a sprinkle of cinnamon or nutmeg on top. Garnish with a thin almond sliver or an edible flower for a cafe-worthy presentation. Whether poured into your morning cereal or used in baking,this almond milk elevates any dish with subtle nutty elegance.

| Nutrient | Per 1 Cup (240 ml) |
|---|---|
| Calories | 60 |
| Protein | 2g |
| Carbohydrates | 3g |
| Fat | 5g |
For more nut milk recipes, check out our Cashew Milk Guide. For scientific insights on almond benefits, visit the Healthline Almond Benefits.
Q&A
Q&A: Crafting Creamy Almond Milk – Your Step-by-Step Homemade Guide
Q1: Why make almond milk at home instead of buying it from the store?
A1: Homemade almond milk is fresh, free from preservatives and additives, and you control the sweetness and flavor. Plus, it’s a lasting choice-less packaging waste, and you can customize it to be as rich or as light as you like!
Q2: What are the essentials I need to start crafting creamy almond milk?
A2: You’ll need raw almonds, fresh water, a blender, and a nut milk bag or fine cheesecloth for straining. Optional add-ins like vanilla,dates,or a pinch of salt can elevate your milk’s flavor profile.
Q3: How long should I soak the almonds, and why is this step notable?
A3: Soak them for at least 8-12 hours or overnight. Soaking softens the almonds, making them easier to blend into a silky milk and helping to release nutrients for better digestion and absorption.
Q4: What’s the secret ratio of almonds to water for that perfect creamy texture?
A4: A good starting ratio is 1 cup of soaked almonds to 3-4 cups of water. Less water means a creamier, richer milk; more water makes it lighter and more refreshing. Feel free to experiment!
Q5: how do I blend and strain the almond milk without making a mess?
A5: Blend the soaked almonds and water on high for about 1-2 minutes until smooth. Pour the mixture through a nut milk bag or cheesecloth over a bowl, then squeeze gently to extract every creamy drop without spills.
Q6: Can I use the leftover almond pulp?
A6: Don’t toss it! Almond pulp is fantastic in smoothies,baking (think muffins or cookies),or dehydrated into almond flour. Zero waste,all taste!
Q7: How should I store homemade almond milk,and how long does it last?
A7: Store your almond milk in a sealed jar or bottle in the fridge. It stays fresh for 3-5 days. Always shake before use, as natural separation will occur.
Q8: Any tips for flavoring my almond milk?
A8: Absolutely! Blend in natural sweeteners like dates or maple syrup, a splash of vanilla extract, or a sprinkle of cinnamon. A pinch of sea salt balances sweetness beautifully. Customize to whatever tickles your taste buds.
Q9: Is homemade almond milk suitable for all diets?
A9: Definitely! Almond milk is plant-based, dairy-free, vegan, gluten-free, and can fit into paleo and keto diets depending on how you prepare and sweeten it.
Q10: Can I make almond milk without a blender?
A10: It’s tricky but possible-soak almonds longer and mash them thoroughly by hand, then strain with a nut milk bag. A blender or food processor just makes life easier and ensures creamier results.Feel empowered to craft your own luscious almond milk at home-each batch a little ritual of delicious, nutritious creativity!
Concluding Remarks
Whether you’re sipping it solo, blending it into your morning smoothie, or pouring it over your favorite cereal, homemade almond milk offers a creamy, wholesome alternative that’s as nourishing as it is delicious.By crafting your own almond milk from scratch, you not only ensure the freshest flavors and purest ingredients but also reconnect with the simple joys of kitchen alchemy. So next time you crave that silky, nutty goodness, remember: a little effort, a few almonds, and this guide are all you need to pour yourself a glass of homemade goodness-because sometimes, the best things really do come from your own hands. Cheers to creamy, dreamy almond milk!